How to Customize iPhone Low Power Mode at Any Battery Percentage
Low Power Mode is a great feature on the iPhone that helps to extend battery life when you need it the most. By reducing or disabling certain features and functions, it allows you to make the most out of your device even when the battery is running low. But did you know that you can customize Low Power Mode to suit your specific needs? In this article, we will guide you through the steps to customize iPhone Low Power Mode at any battery percentage.
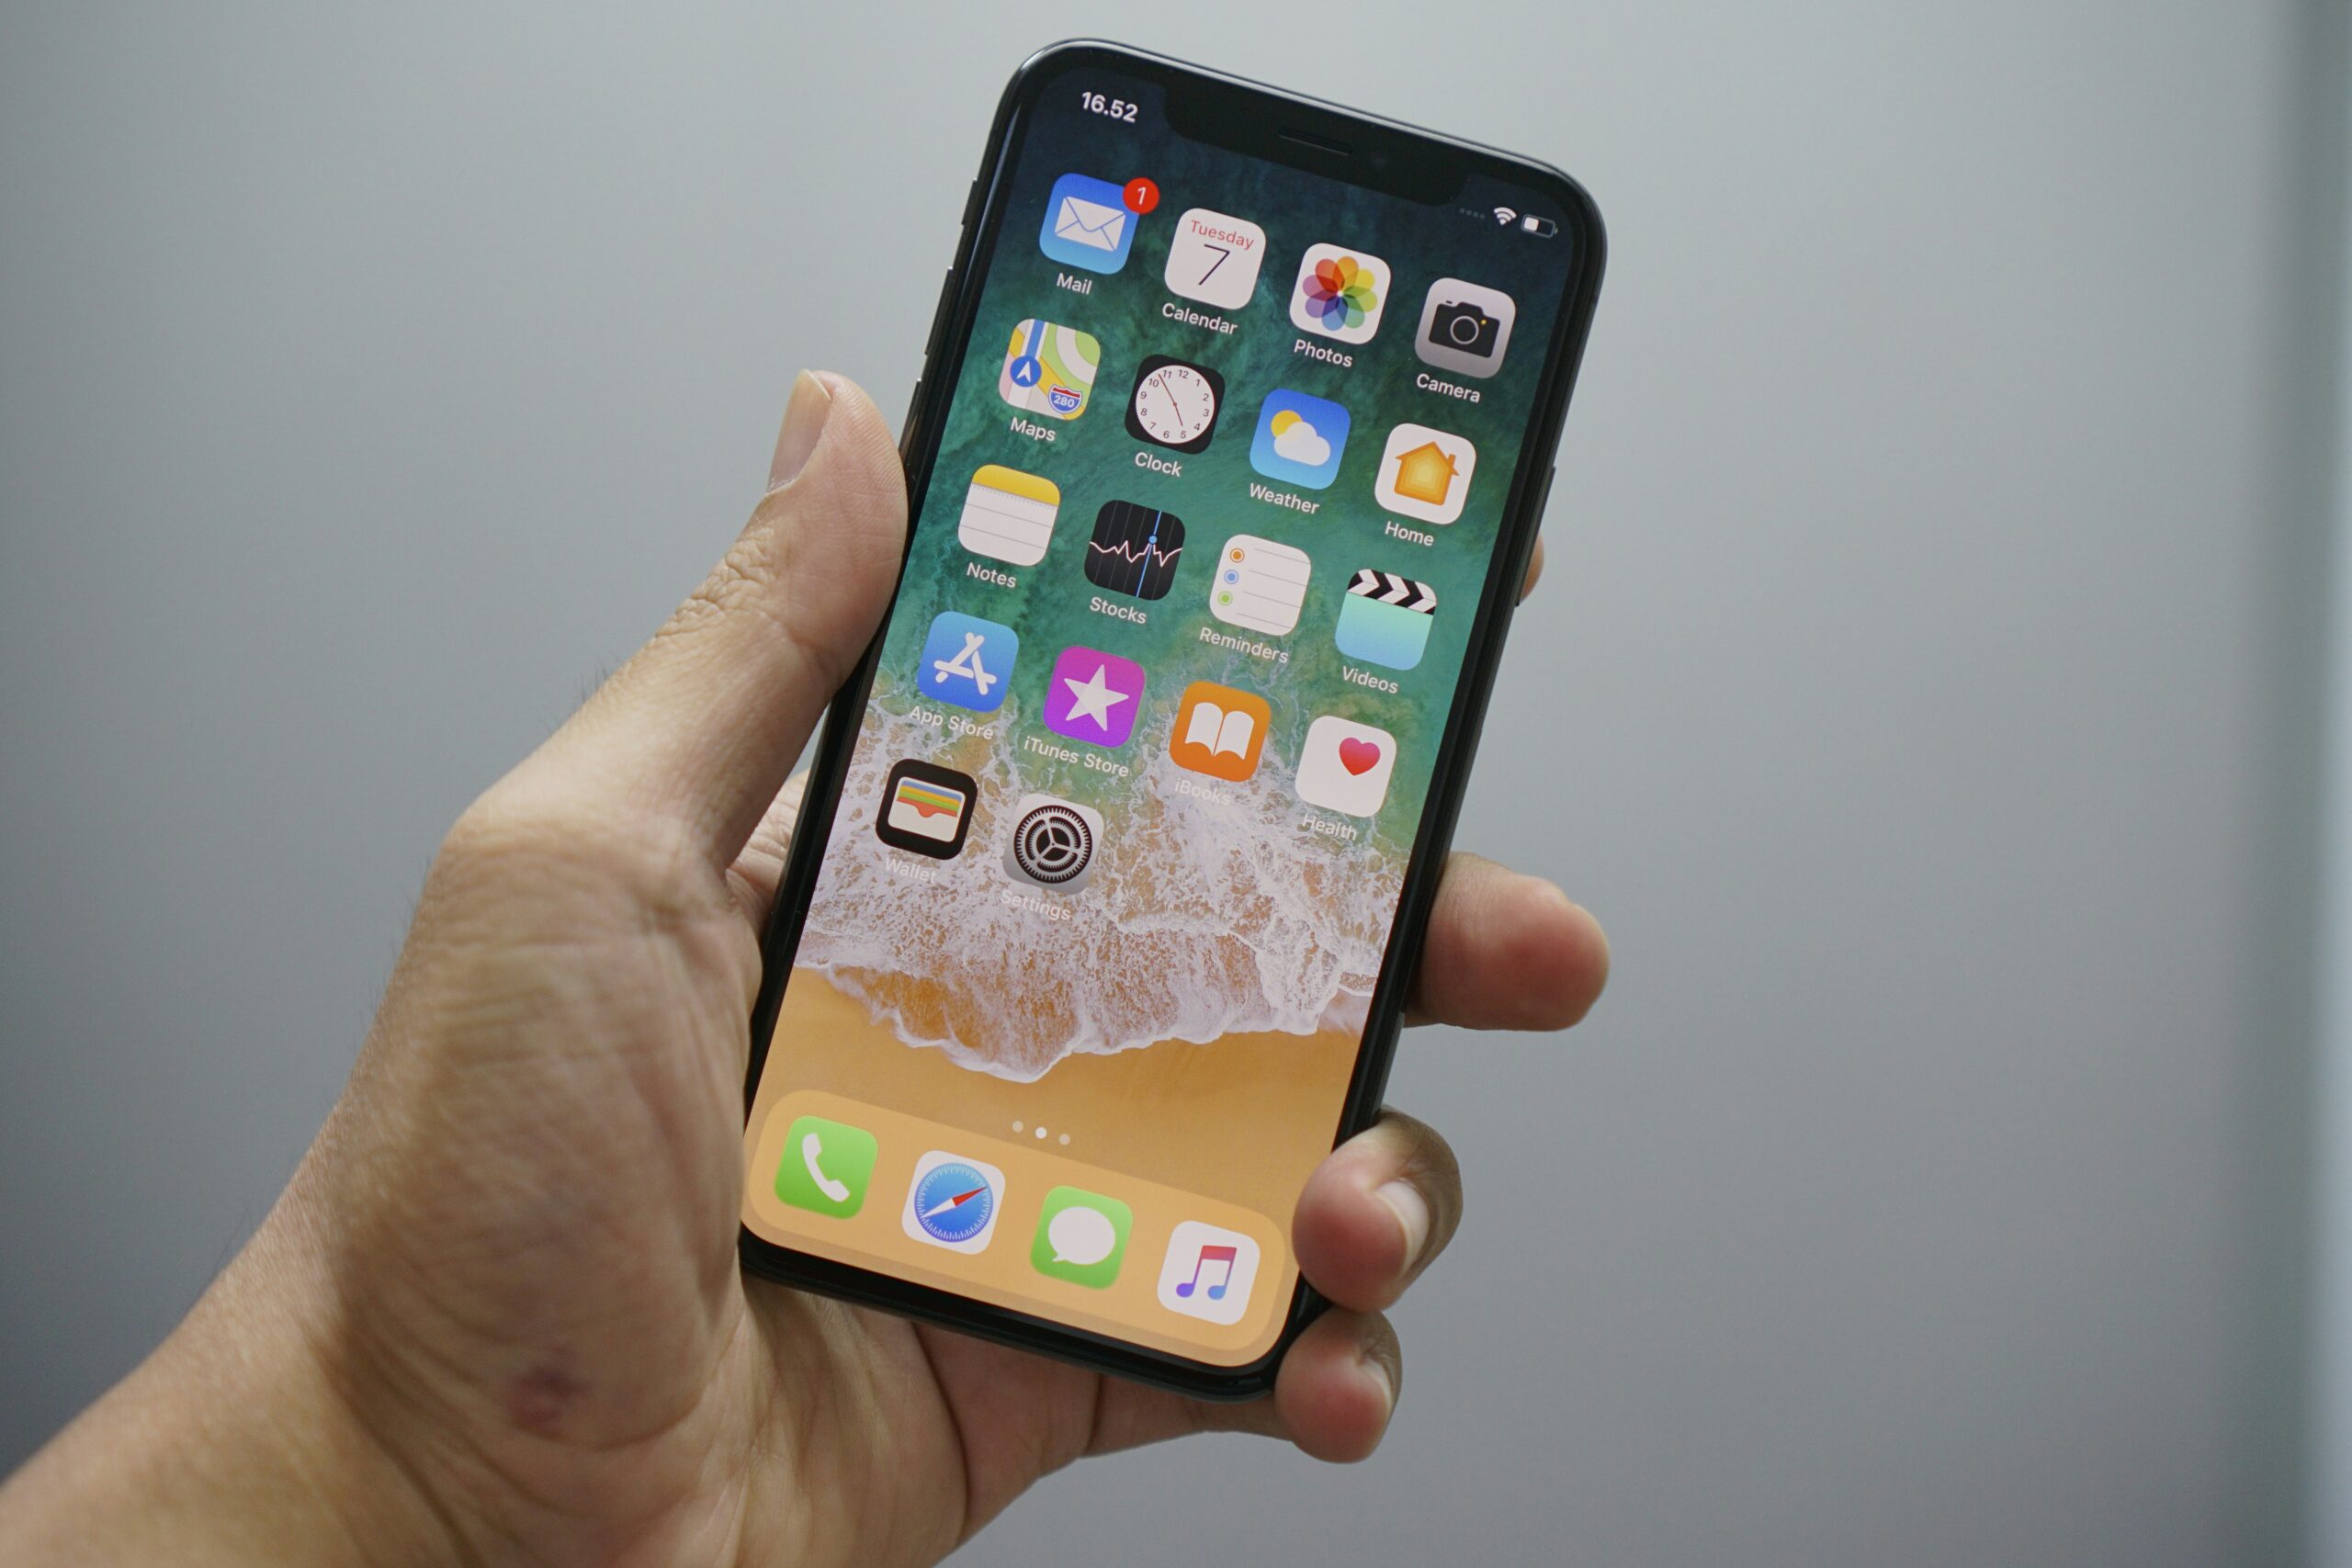
Step 1: Accessing Low Power Mode Settings
To begin customizing Low Power Mode, you first need to access the settings. Here’s how:
- Open the Settings app on your iPhone.
- Scroll down and tap on “Battery”.
- Under the “Battery” section, you will find “Low Power Mode”. Tap on it to continue.
Step 2: Enabling Low Power Mode
Before you can customize Low Power Mode, you need to make sure it is enabled. Follow these simple steps:
- In the “Low Power Mode” settings, toggle the switch to turn it on. The switch will turn green when enabled.
Step 3: Customizing Low Power Mode
Now that Low Power Mode is enabled, you can customize it based on your preferences. Here are the options available:
- Auto Low Power Mode: By default, Low Power Mode is automatically enabled when your iPhone reaches 20% battery. However, you can choose to enable it at any battery percentage. To do this, toggle the switch next to “Auto Low Power Mode” and set the desired battery percentage.
- Disable Mail Fetch: When Low Power Mode is enabled, your iPhone fetches new emails less frequently. However, you can choose to disable Mail Fetch entirely by toggling the switch next to “Disable Mail Fetch”. This can further extend your battery life, but keep in mind that you won’t receive new emails in real-time.
- Reduce Screen Brightness: Low Power Mode automatically reduces the screen brightness to conserve battery. If you prefer to manually adjust the screen brightness, toggle the switch next to “Reduce Screen Brightness” to disable this feature.
- Disable Hey Siri: By default, Hey Siri is disabled in Low Power Mode. However, if you want to use Siri even when your device is in Low Power Mode, toggle the switch next to “Disable Hey Siri” to enable it.
- Background App Refresh: Low Power Mode temporarily disables Background App Refresh, which means apps won’t refresh content in the background. If you want to allow certain apps to refresh in the background, you can customize this setting by tapping on “Background App Refresh” and selecting the desired apps.
Step 4: Exiting Low Power Mode
Once you have customized Low Power Mode to your liking, you might want to exit it when your battery is sufficiently charged. Here’s how:
- Swipe down from the top-right corner of the screen (or swipe up from the bottom on older iPhone models) to access Control Center.
- Tap on the battery icon.
- In the battery menu, tap on “Low Power Mode” to disable it. The switch will turn gray when disabled.
That’s it! You have successfully customized iPhone Low Power Mode at any battery percentage. Now you can enjoy a personalized experience while conserving battery life on your iPhone.
Remember, Low Power Mode is a powerful tool to optimize battery usage, especially when you’re on the go or away from a charger. By customizing its settings, you can tailor it to your specific needs and strike a balance between battery life and functionality.
Experiment with different settings and find what works best for you. And don’t forget to share these customization tips with your friends and family who also use iPhones. Happy customizing!